Want to make a ground? Need reference? Have no idea how to do it? No problem! I'll show you how!
Contents : 1 - Creating your ground texture images2 - The .ground file3 - The final touches
Creating ground texture images
As far as textures, you only need two JPG files.
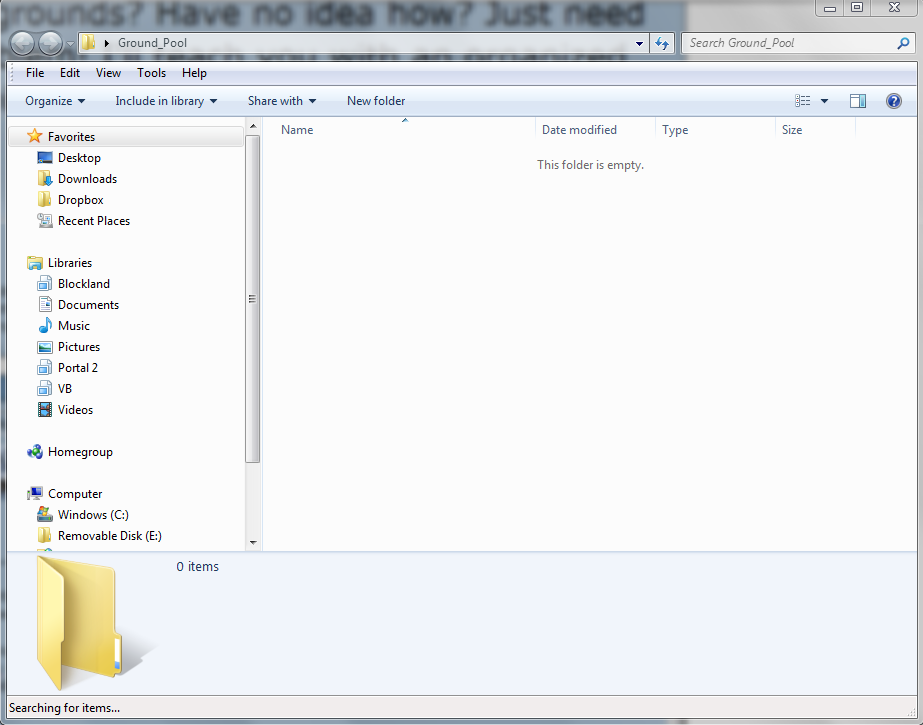
Let's make a new folder for our ground add-on.
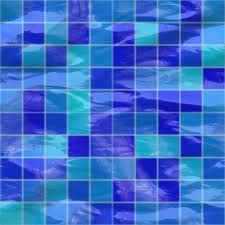
Now draw the texture you want or get it online. If you are going to draw it, make the size 512 x 512 pixels.
In my case, I'm too lazy to draw it, so I will get the texture I want online. I wanted a swimming pool texture, so this is what I got.
If it's an online image, right click on it and click Save as.. or Save image as..., etc. Save it to your folder and then make TWO copies of it.
If you drew it, just make a second copy of it.
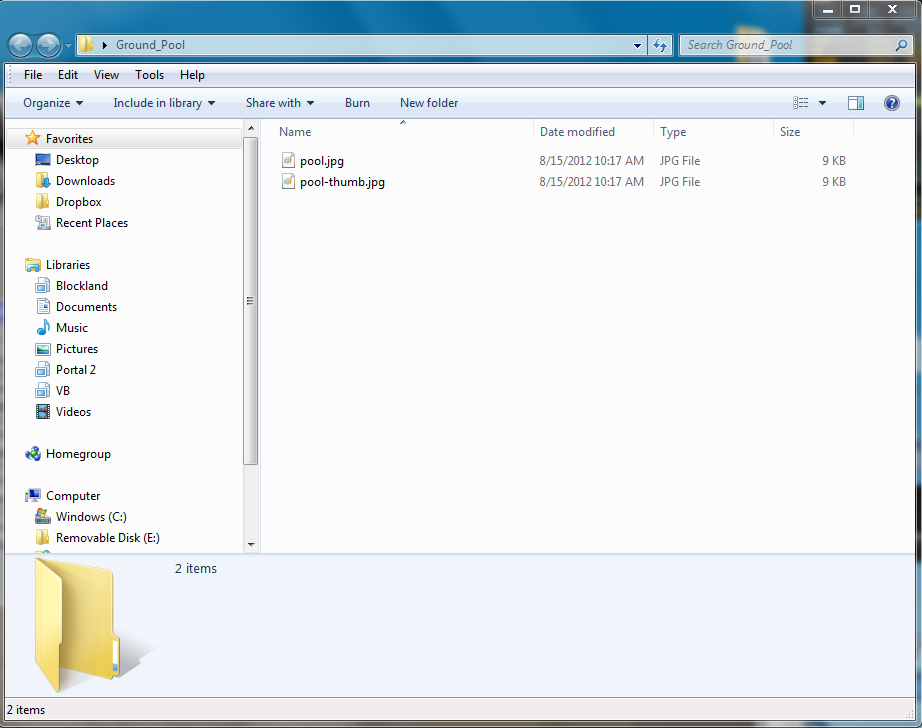
Now rename one of your copies to one of the items listed, and rename the other copy to the other item listed in this list :
name.jpg - 512 x 512 pixels - Replace "name" with a short, lowercase, one word name you want. For example, pool.jpg.
name-thumb.jpg - 64 x 64 pixels - Replace "name" with the same short, lowercase, one word name you used for the file above. So in my example, pool-thumb.jpg.
So your folder now looks something like this :
But these images are most likely not SIZED correctly. The normal .jpg has to be 512 x 512 pixels and the one with "-thumb" in it has to be 64 x 64 pixels.
So you now need to resize them. You can easily do this in MS Paint :

Make sure you uncheck "Maintain aspect ratio".
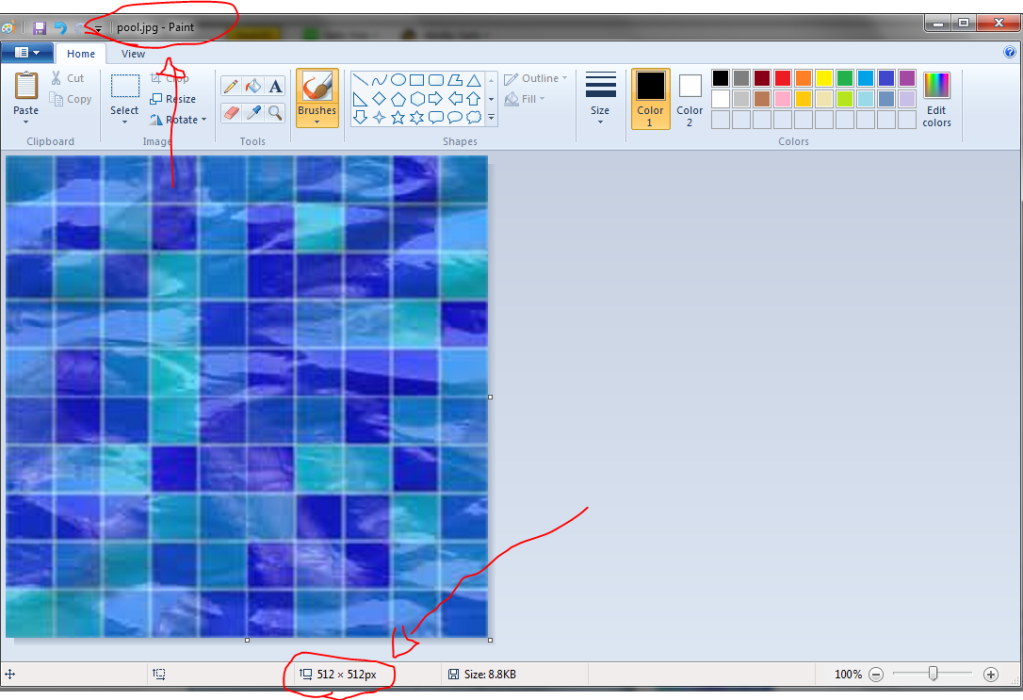
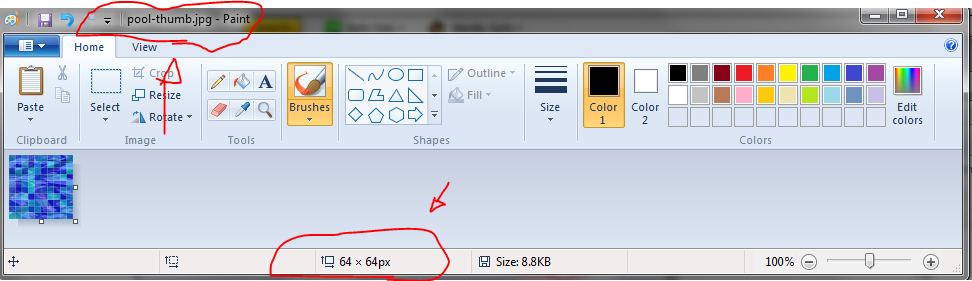
Now your images should look like this in MS Paint :
In the below image my normal .jpg (No "thumb" part in the filename) is 512 x 512 pixels.
In the below image my -thumb.jpg (It has "thumb" in the filename) is now 64x64 pixels.
Tada! You created the basic texture and icon for your ground add-on.
The .ground File
This is going to probably be the hardest part of the tutorial, but stay with me.
In your folder, create a new text file called "name.txt". Replace "name" with whatever name you used for the normal 512 x 512 .jpg texture. In my case, my normal .jpg texture was called "pool.jpg", so this text file will need to be called "pool.txt".
If your normal .jpg file was called "snow.jpg", this text file would be "snow.txt", etc.
Now just open it up in notepad, and copy this into it :
$Ground::topTexture Add-Ons/Ground_Yours/yours.jpg
$Ground::scrollSpeed 0 0
$Ground::loopsPerUnit 0.05
$Ground::Color 0 0 0 1
$Ground::ColorMultiply 1
You will now have to edit this to make it your own. Let me guide you.
$Ground::topTexture needs to be replaced by the filepath of your normal .jpg ground texture.
In my example my folder was called Ground_Pool, and my normal .jpg file was called "pool.jpg".
So the line would be this for me :
$Ground::topTexture Add-Ons/Ground_Pool/pool.jpgLastly, the hardest part. The color.
You can't just use RGB color code here : this is decimal color code.
Go to this site :
http://www.psyclops.com/tools/rgb/You will choose a color you want the ground to be, and look at the numbers under the "Decimal" box.
Note down the first, second and third numbers.
Now edit the line like this :
$Ground::Color 0.first 0.second 0.third 1So replace "first" with the first number from the site, "second" with the second number from the site, and "third" with the third number from the site.
For example, if the first number i got from the site was "95", the second was "47", the third "50", then mine would look like this :
$Ground::Color 0.95 0.47 0.50 1That's all you need to edit.
Advanced users who know what the other 3 variables do may edit it to their liking.
Now save the file like this :
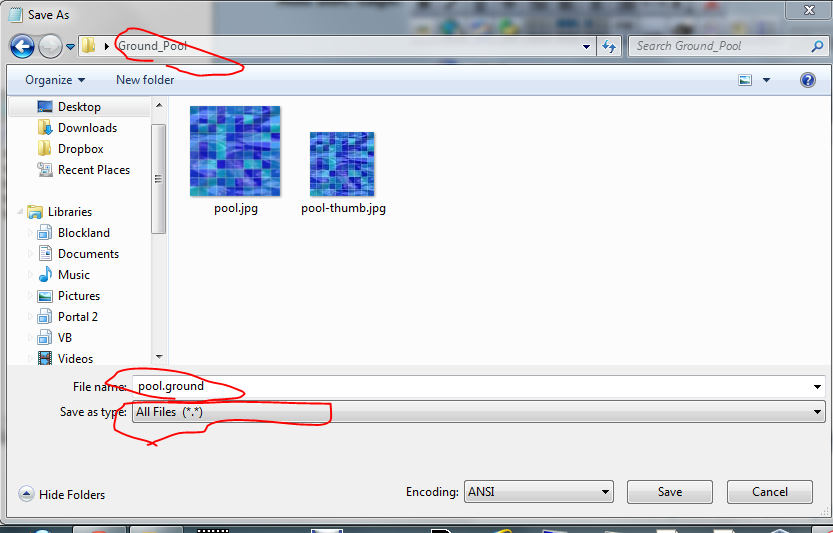 TAKE NOTE : In the Save as type box I chose "All Files", and I am saving it as a ".ground" file. This is very important.
In my example, I saved it as pool.ground. Again, name it the same thing as your normal .jpg file.
So if your normal .jpg texture file was called "snow.jpg", this file would need to be saved as "snow.ground", and so on.
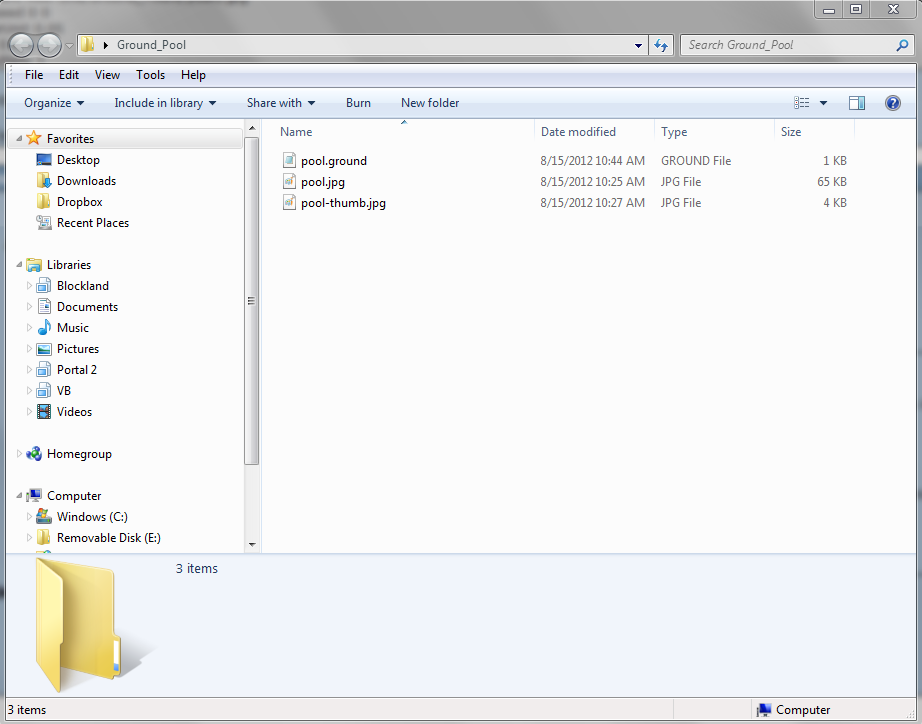
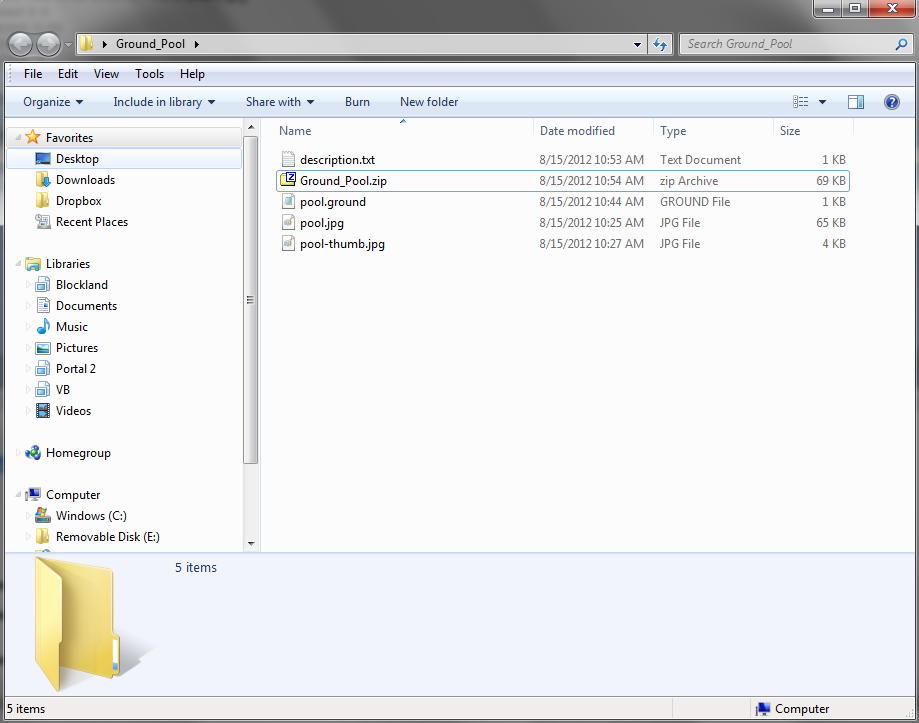
Your folder should now look like this :
 You're almost done.
The final touches : Packaging
All you need to do now is package the add-on.
If you've made add-ons before, you know that you need :
A server.cs / client.cs / or no .cs.
A description.txt
In ground add-ons, you don't need any ".cs" file. No coding required.
But you still need the description.txt.
If you know how to do it, go make the description.txt. If you don't, listen to me.
Simply create a new text file called description.txt in your folder.
Copy this into it :
Title : Ground - Name
Author : Your name here
This ground is..
Make the title what you want, put your name in the Author : place, and write a short description where "This ground is.." is.
There! Last step is to compress the add-on so you can share it.
Simply hold CTRL while clicking on all the files in the folder : the .ground file, both .jpg files and description.txt.
Then right click on one of them, hover over "Send to.." and click "Compressed Zip."
On mac, just right click / hold your mouse and click "Compress".
This is the finished product:
Now you simply put the Ground_something.zip into Documents/Blockland/Add-Ons. You can see it in-game!
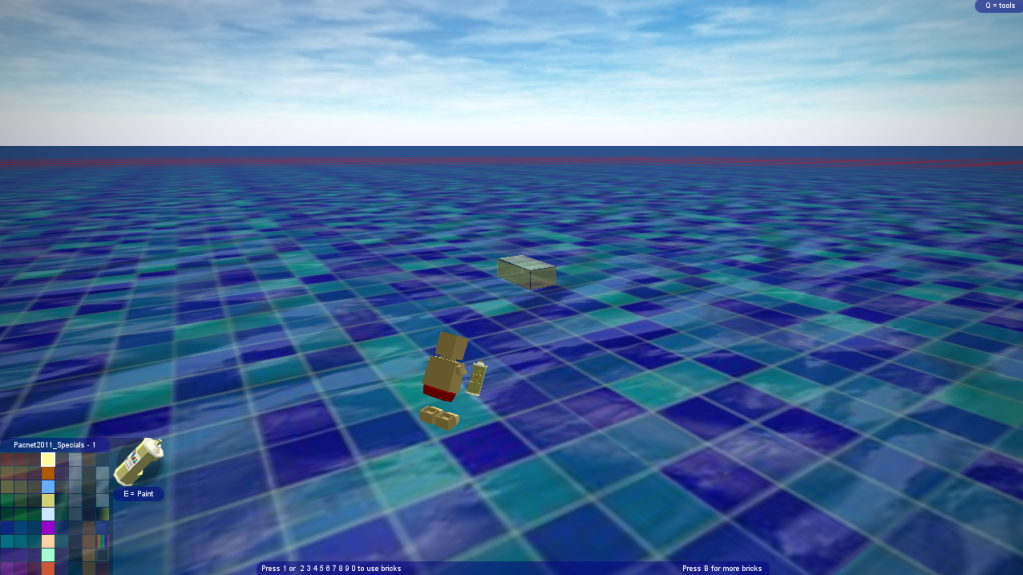 TADA! You're done! Upload it to the Environment Files section of the forums or try RTB!