Yeah, I know there's already several other topics but the ones I found were way too old to bump
Je me suis sérieusement espérer que ce sujet ne se contente pas mourir dès le départAlso, if any of the pictures pagestretch, let me know
SO ANYWAYS
General InfoBattleships Forever is a freeware tactical Real Time Strategy game that put's you in command of a small fleet of warships in space. Combat and damage mechanics are extremely detailed. Everything is simulated in game if possible. There are no abitrary "to hit chance" values in Battleships Forever. The game also features many innovative mechanics that you've never seen before. For example, the Cronus Battleship sports a Flux Shield generator that allows you to draw a defensive force shield around your ships in any shape you want. Another example are the Deflector modules that are used extensively through the game. These modules make a single section of a ship totally invulnerable to fire. This means that you will have to manoeuvre your ships to attack sections of the enemy ships not protected by Deflectors while keeping your own protected sections facing the enemy. Position is paramount!
Players will command picked fleets made up of Battleships, Destroyers and Patrol Craft. The completed game will include ten campaign missions and multiple skirmish modes.
Battleships forever is a top-down style game, full of lasers and missiles and explosions, etc. The main attraction of BSF is the custom ship building program, which lets you make your ships literally however you want. Unfortunately, there's no multiplayer,
It comes with several gameplay choices, including:
CampaignUnfortunately the last two missions are incomplete, but the first 8 of them are quite a lot of fun.
You can only use stock ships in the campaign missions, but that makes it a bit more fair, otherwise you could just steamroll through them with your op custom ships
 Skirmish
In reality its 4 different gamemodes but whatever, idgaf
You can use a small fleet of stock ships for these, or go into sandbox mode and use your own
op custom ships
 Grinder
 - 25 increasingly difficult waves of enemy ships that come with the game
Blockade - Protect AI controlled, unarmed transport ships from hostile pirate ships
Raid - Pretty much the opposite of Blockade, this time you're the booty plundering pirates going up against harmless civilian traders
Leviathan - Go up against a "Giant" alien battlestation
Custom Games Sandbox
 - Self explanatory, lets you spawn whatever you want and throw custom ships at each other. Right click on the sandbox button to change the scale of the arena. same thing for the Make Encounter button.
Encounters - Three different encounter options; Play, Load, and Make. Encounters are about as close as you can get to user made campaign levels.
Ship MakerThe most fun part of Battleships Forever is destroying stuff with your own creations. Sort of like spore, except the parts you add actually affect how your ship performs. GASP.
There is so much stuff I don't know if I'll be able to cover most of it, but whatever.
What you'll see when you first open the ship maker:

 I'll try to go indepth with most of the settings, options, etc in this, but I might miss something so yeah.
Most of the options in this are self explanatory.
Open Ship - Lets you open and edit any ship you have saved on your computer.
Save .sb4+shp - Saves a ship maker save file type, as well as a file to let you use the ship in the actual game.
Save .sb4 - Only saves the ship as a ship maker file, it won't create a file to let you use your ship in game.
Save + Launch Sandbox - Saves both an .sb4 and .shp, and launches the main game to the sandbox gamemode so you can spawn your newly made ship.
Upload Ship to Database - This doesn't actually work, so don't bother with this.
New Ship - Clears everything you have, including any custom sprites you have loaded, as well as any parts you have placed. Also resets all of the ship settings / options
Quit - Quits the ship maker, duh

This is some more complex stuff, including moving parts, mirroring, etc.
Undo - Self explanatory, really. If you don't know what this is then what're you doing on the internet
Mirror ship - This will mirror everything above the core, to the space below the core. It doesn't affect the mirroring process if you have moved the core around, it'll still mirror your sections along a horizontal axis running straight through the center of the core. It won't mirror everything perfectly, but for the most part it'll be only about one or two pixels off.
Re-mirror Ship - Clears the mirrored section, and re-mirrors the top half to the bottom half.
Clear Mirroring Status - I'm honestly not entirely sure what this does. It doesn't clear the mirrored half of the ship though, so yeah.
Reset Fade - Self explanatory. AKA I don't know what this does but the name explains what it does anyways
Unhide All - Unhides any hidden sections.
Toggle Hiding - Toggles whether or not you can set sections to "Hidden"
Move/Rot Step - Switches between Normal and Fine movement, allows you to change the sensitivity of the mouse, basically.
Insert Depth - Switches between Below Parent, and Bottom. Below parent will cause any sections you spawn to be one layer below the object they're parented to. Bottom will cause any sections you spawn to be on the very bottom layer.
Parenting Lines - Toggles the parenting lines on and off. They let you see what section is attached to what.
Link/Driver Lines - Toggles Link and Driver lines on and off. These deal with more complex actions.
Trigger Lines - Toggles Trigger lines on and off. Triggers allow you to make sections of your ship move when a certain requirement is met, by the object that triggers the action. In other words these are confusing as
forget
These just let you, well, edit parts of your ship.
Group Move - Lets you move multiple sections at once
Delete - Deletes whatever you have selected. duh.
Clone, Clone Group - Clone lets you clone the selected object. Clone group lets you clone multiple objects
Flip Horiz, Flip Vertical - Self explanatory. Flips the selected section on either the horizontal or vertical axis
Color: Type 1 - Allows you to select a wider range of colors
Set Blend Mode - Toggles between the selected section being solid or being transparent.
Custom HP - Allows you to set your own HP for the selected section
Hide - Hides the selected section
Clear Driver, Clear Triggers - Clears any Drivers or Triggers that're attached to the selected section
Bring to Front, Send to Bottom, Bring Forwards, Send Back, Set Depth - These are all pretty self explanatory, they change sections depth

General settings for the program itself. Includes useful stuff like custom sprite importing, etc.
Reset Zoom - Resets the zoom to the default position
Change Background - Lets you change the background to any .BMP image
1234 Keys Mode - Lets you toggle between using the 1234 buttons to spawn sections, or to switch between section sprite groups.
Effect Edit Mode - Toggles the effect editing mode on or off, I haven't used this once so I have no idea really how this works
30 FPS Limit - Toggles a framerate limit on or off
Screenshot - Takes a screenshot and saves it to your Battleships forever directory, which is located in C:> Program Files> Battleships Forever
Hide GUI - Self explanatory
Group Arrange - Probably THE most useful in this section, I'll go over this later.
Import Section Sprite - Lets you import sprites one at a time
Open Spirtes.Ini, Save Sprites.Ini - This allows you to load or save the sprites you have loaded into the game, so you don't have to re-load them every time you open the game
Export Custom Sprites - Does something involving turning things into sprites, I'm not all that sure.
Group ArrangeWhen you open up the Group Arrange tool, You'll get something like this:

This is all of the sprites currently in the ship maker. You switch between these groups by pressing ~, until it says something along the lines of 1/2/3/4 keys mode: Groups
Then you just hit 1, 2, 3, or 4 to switch between the four group sections. This allows you to select what section style you want
The main reason this is so helpful is because if you have any custom sprites downloaded, you can drag the .png's into one of the columns, and then it'll be in the Ship Maker, in the section you put it in.
Once you have all the sprites you want in the ship maker, go back to the "Save Sprites.Ini," and it'll save all the sprites you currently have loaded into a .ini file called "Custom_sprites." You can load this every time you start up the ship maker by clicking on the "Open Sprites.Ini," so you don't have to drag all the sprites you want into the game every time you open it.
TriggersThis is probably the most complicated thing in the BSF ship maker. I myself do not know how to use them, and the tutorial on the BSF forums isn't that helpful, but I'll post it here anyways
Honestly the most advice I can give is to just, richard about a bit with them until you get it right.
TRIGGERS
Triggers give you the ability to trigger on/off certain actions (for example section movement or weapon fire) with other actions (for example when certain section reaches specific angle or weapon acquires a target). Trigger parameters are located in EDIT tab for sections and ED2 tab for weapons.
'Mode' field defines what kind of behavior will be triggered. For sections, it is Move, Rotate, and Fade, and Move+Rotate. For weapons, its Online/Offline (if weapon is offline, it won't shoot, rotate, or gain targets), Shooting, Force fire (means that the weapon will be forced to fire, in this mode the off trigger has no effect).
There are two types of triggers: trigger on and trigger off. As the name suggest, trigger on triggers something online (for example, start rotation), trigger off puts it offline (stops rotation). For both triggers, you can pick two actions to fire that trigger (so that you can trigger something with two different actions). To pick actions, use fields called 'Trigger on action 1/2' and 'Trigger off action 1/2'.
Available actions:
Frames elapsed (self) - Will trigger when a set number of frames has elapsed after its been triggered off (if its set for 'trigger on action 1') or triggered on (if its set for 'trigger off action 1'). There is a separate field ('On frames' and 'Off frames') for defining the amount of frames.
Key pressed: , (comma), . (period), / (slash) - Will trigger when the picked key is pressed.
Rotation reach CW/CCW border - Will trigger when the picked rotation border is reached.
Movement reach target/origin - Will trigger when move target/origin is reached.
Fade reach hi/lo limit - Will trigger when the selected fade limit is reached
Weapon fire - will trigger when weapon fires
Weapon acquired target - Will trigger when weapon has acquired target (providing that there was no target before)
Weapon lost target - Will trigger when weapon has lost target (providing that no new target has been assigned at the same time)
Actions that have (self) or (s) beside their name mean that the action will be taken from the same section that will be triggered; the section will trigger itself. For example, if you set the section to rotating and enabled borders, set on trigger to 'Rotation reach CW border (self)', and set mode to Move, it will mean that once this section has reached CW border while rotating, itll also start moving.
For actions that have no (self) tag, you will need to set a trigger on/trigger off parent. Do that by right clicking on the desired parent (section or weapon) while you have a section/weapon selected, and picking either 'Set on trigger 1/2' or 'Set off trigger 1/2'. For example, if you have set 'Trigger on action 1' to 'Fade reach hi limit', you will need to right click on a section that fades and pick 'Set on trigger 1'. If youve picked one of the weapon-specific actions for off trigger action 1/2, you will have to click on a weapon and set pick 'Set off trigger 1/2'. Cyan arrows indicate on trigger parents, magenta arrows indicate off parents, and blue arrows indicate that both on and off triggers are set to that parent (you can turn them off by using 'Trigger Lines' option from Commands menu).
If all trigger actions are set to the same actions, and they have the same trigger parent (doesn't matter for (self) triggers), the action will toggle selected behavior between on and off.
You can set the delay in triggering a behavior (mode) after receiving a trigger for both triggers (will apply to both actions) by using the 'On delay' and 'Off delay' fields.
You can preview key triggers (as well as other triggers) in preview mode by pressing relevant keys. Triggers will be executed for all section/weapons with those actions as on/off trigger. You can trigger weapon fire/weapon gained target/weapon lost target in the same way by pressing Q, W and E respectively. disable shooting with 'Shooting' field in ED2 tab.
General Ship maker Tips- Play around with weapon stats and settings, you can get some really cool weapons by just messing around.
- Try to keep your ships from being just one solid color, it makes them look rather bad
- If you're out of ideas, go visit the BSF forums, there's plenty of amazing ships on there.
- If you're like, completely out of ideas and the BSF forums aren't helping, find a topdown image of a spaceship from your favorite sci-fi, turn it into a .BMP in some drawing program, then set it as the background. Then you can just place parts over it and there you go, you have your favorite spaceship from Startrek, Babylon 5, whatever.
I'll add more to this over time i guess
if this topic doesnt DIE PICTURES AND MORE LINKS AND STUFFMassive Sprite Pack - I highly suggest you get this, its a sprite pack full of a buttload of sprites, really useful.
Another Guide to TriggersBSF Forums thread full of picturesWeapons and Modules guideShip Maker Q&A topicSilverWingedSeraph's Guide to Good ship buildingGeneral Guide to Ship Builder 4.0ACTUALLY PICTURES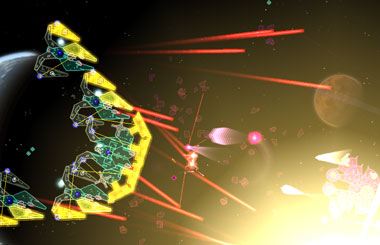
Chainships


SilverWingedSeraph's ships


HorseMonster

vVhorpax - this guy makes some pretty cool Asymmetrical ships

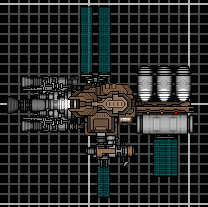
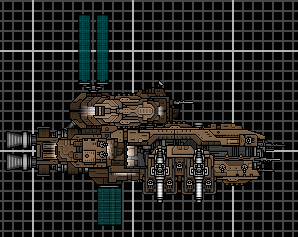
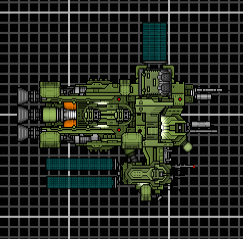
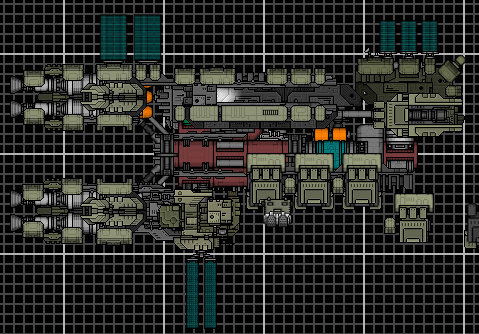
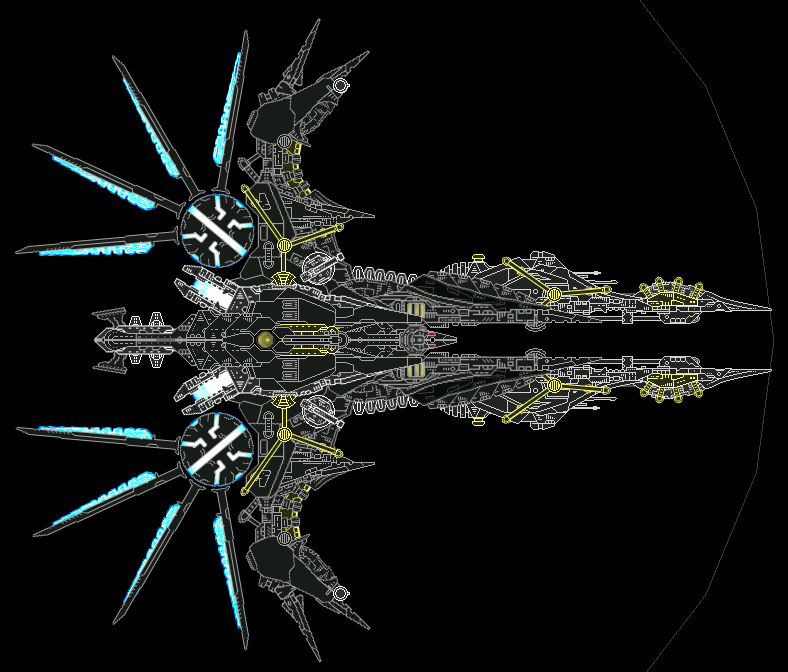
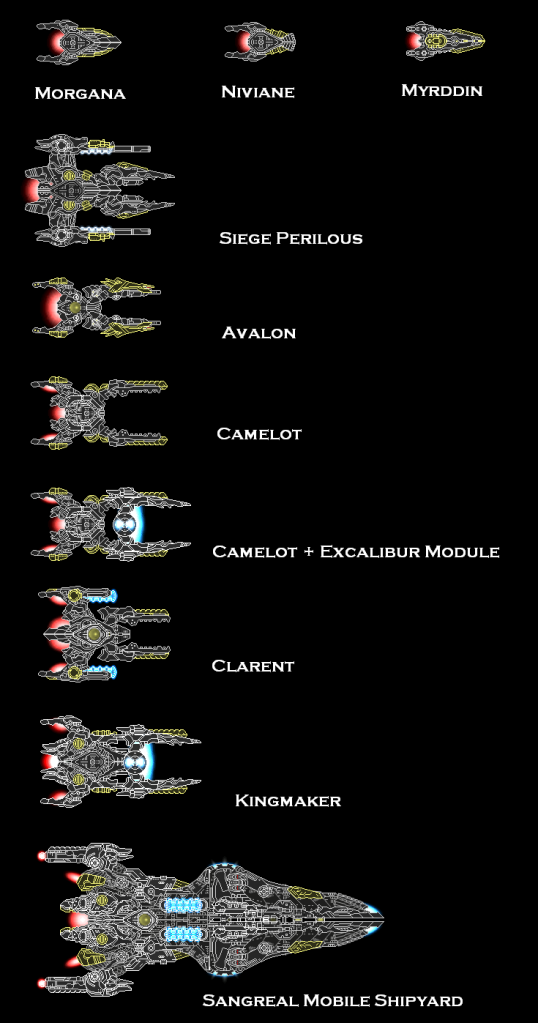
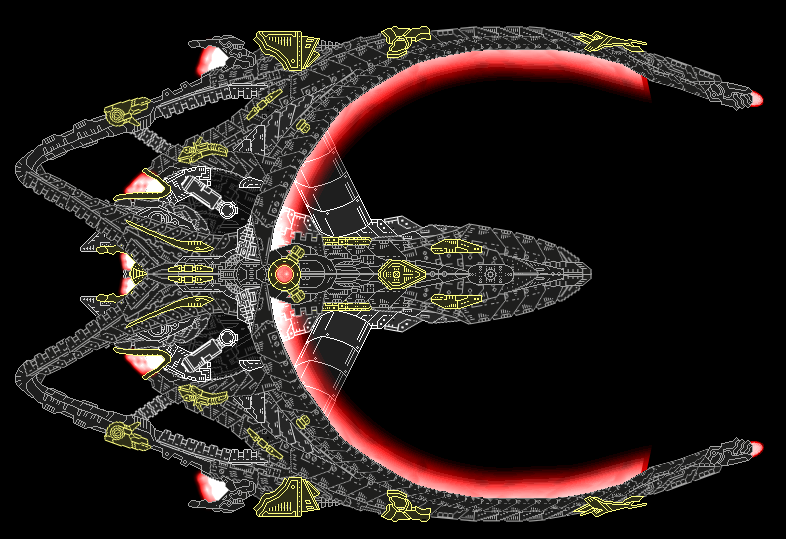
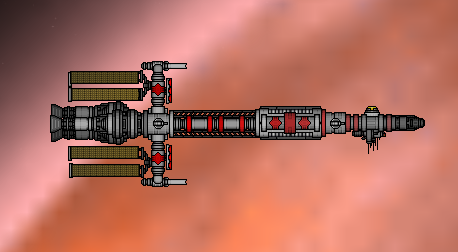
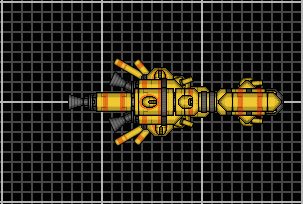
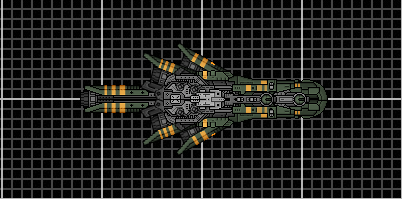
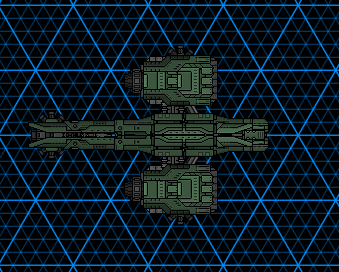
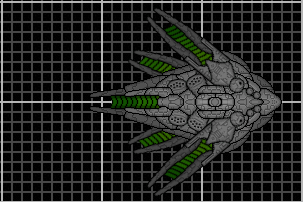
A few of my ships


This ship has a medium sized beam cannon mounted on its shield, which rotates around.
I spent a long ass time on this and I hope to hell it doesn't just die after like, five posts
Post pictures of your ships and stuff.
Any questions or something, just ask.


