TRANSPARENCY
--Why should I?
Adding transparent parts to your decal/face add-on allows the transparent parts of your add-on to be changed by changing the colors of the original node (ex. changing the torso color in the avatar customization menu would change transparent parts of the decal selected).
--How to add transparency--
Make sure the image editing program of your choice supports transparency. Microsoft Paint will not work for this tutorial.
METHOD 1: ONLINEThis method makes use of website such as
LunaPic.
This method is
NOT recommended, however can be used. Use website such as this one to add transparency to your image.
METHOD 2: PAINT.NETThis makes use of
PaintDOTNet.
The program itself is free. Use the tutorials on the website to get yourself familiar with the interface.
Here's a tutorial on using the program to make transparency.
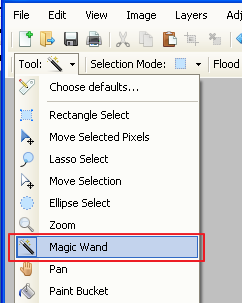
USING THE WAND TOOL1. Select the WAND tool.
2. Click on the part of your image that you wish to make transparent. The wand tool only selects the color that you are clicking on and will halt upon coming in contact with another color. The result should look something like this:

3. Press delete. You've now removed the color and have made it transparent.
4. Repeat steps 1-3 with other parts of your image.
5. Once you've completed adding transparency, listen closely, this part's important: save the image as a
PNG to the location of your choice.

6. Done!
USING THE SELECT TOOL1. Select the SELECT tool.

2. Click and drag around the area you wish to make transparent.
3. Press DELETE.
4. Repeat steps 1-3 with other parts of your image.
5. Once you've completed adding transparency, listen closely, this part's important: save the image as a
PNG to the location of your choice.
6. Done!
Have your own method/tutorial? Post it below and I'll add it to the OP!


