Hey there kids, it's your ol' pal Swholli doing another dumb thing that he does when he gets bored at 4 in the morning because he has insomnia and ADHD!
SO.
Have you ever wanted to have your very own giant robot? Me too. I wish we could have that stuff right this loving second. I'd get in that forgeter and plow my way to the moon then romp around on some Godzilla-looking mofo's skull.
Well sadly we don't have those. And for those of you wondering, no, I do not have the time, the resources, the space, or the energy to create an actual 1:1 scale model of a giant robot out of popsicle sticks.
Though if I were an installation artist, I'd totally do that.
So anyway, this is a weekly (i.e. whenever the forget I feel like it) series that's part "look what I did" and part "you can do it too!"
The goal was to find whatever useless materials I had lying around and construct a stop motion (maybe) giant robot model/puppet for $0 (aside from the cost of having bought these materials at some point, though if you were to go out and start with nothing, these items literally cost mere dollars for packs of hundreds).
Let's see what happened!
UPDATE ONESo today I decided to start with the abdomen chassis of my giant robot and get a good start on the scale of the beast.
First, like everything, we must draw out our plan ahead of time else be lost to not knowing what to do:
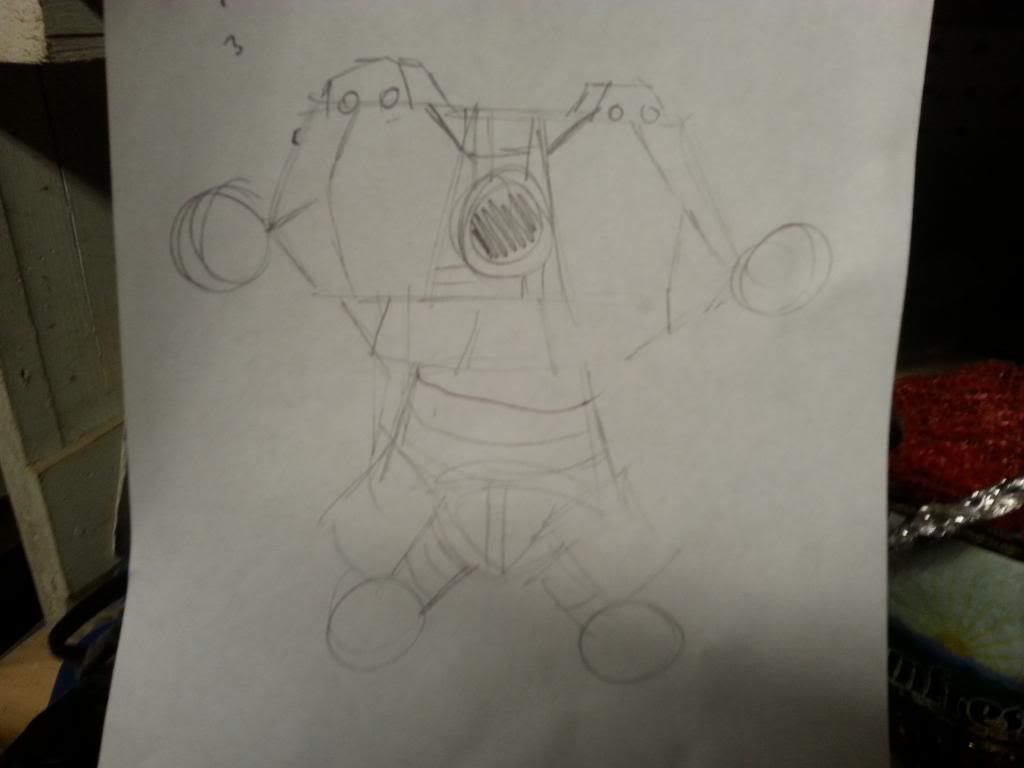
Pretty good looking body. A bit rough but the fun of adding the details is actually done without knowing so we've got a good plan.

First start by creating "plates" of the armor out of popsicle sticks. Create a frame with the sticks, then cover them with something thin and unbroken. I chose to use some cardstock I had lying around from an old phone number rolodex. Glue the sheets of flat material onto the stick frame on both sides and keep building and covering pieces like this. Think of it like making a papercraft except far more bulky but also sturdier.
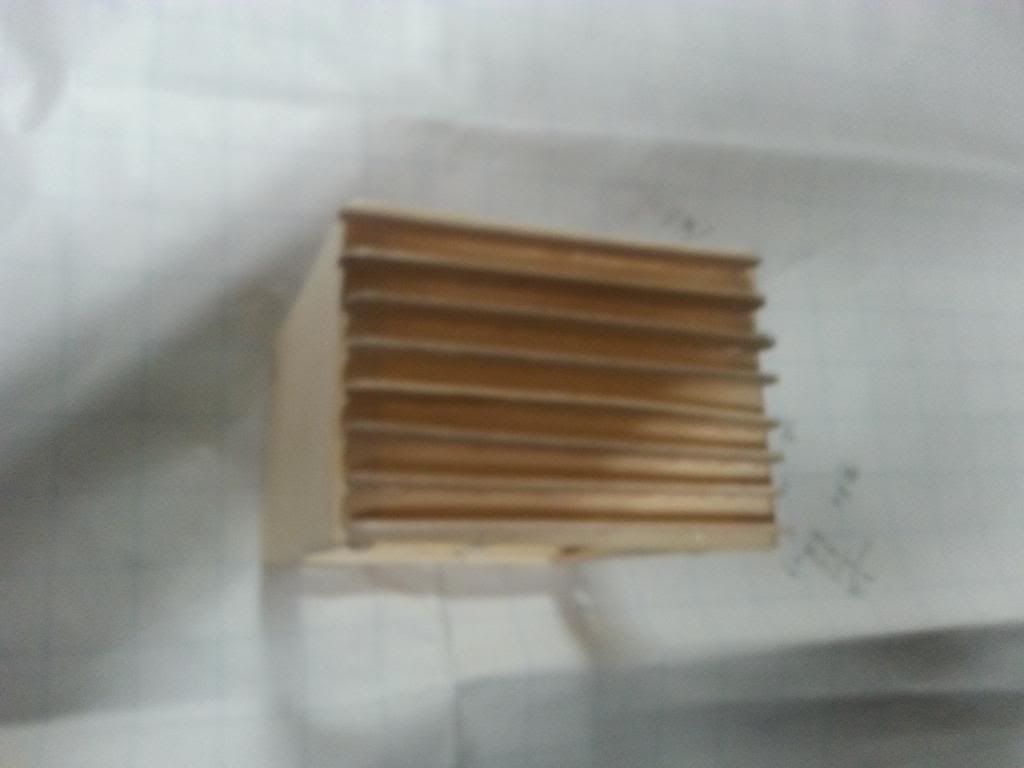
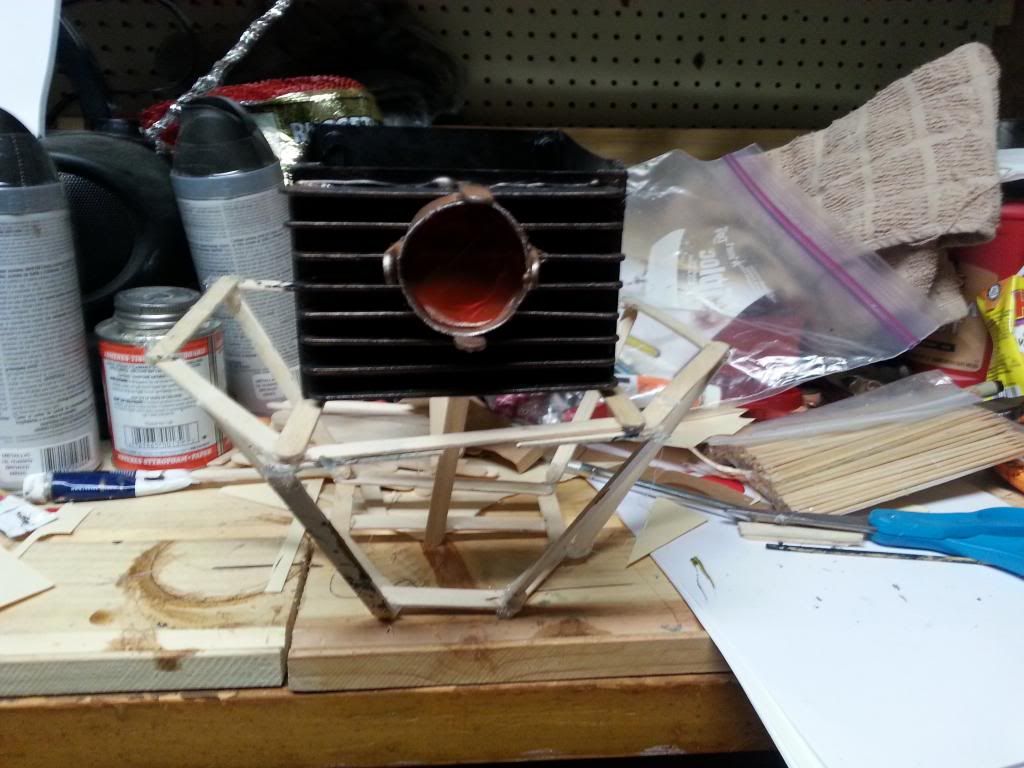
Next I created the chest block (power source thingy for my robo). Here I used a box frame of sticks and like before, covered the frame with the cardstock. Then using perpendicularly lined sticks I created a vent or ridged like texture on the front. Doing little details like this will help sell the overall believability of your giant robot.
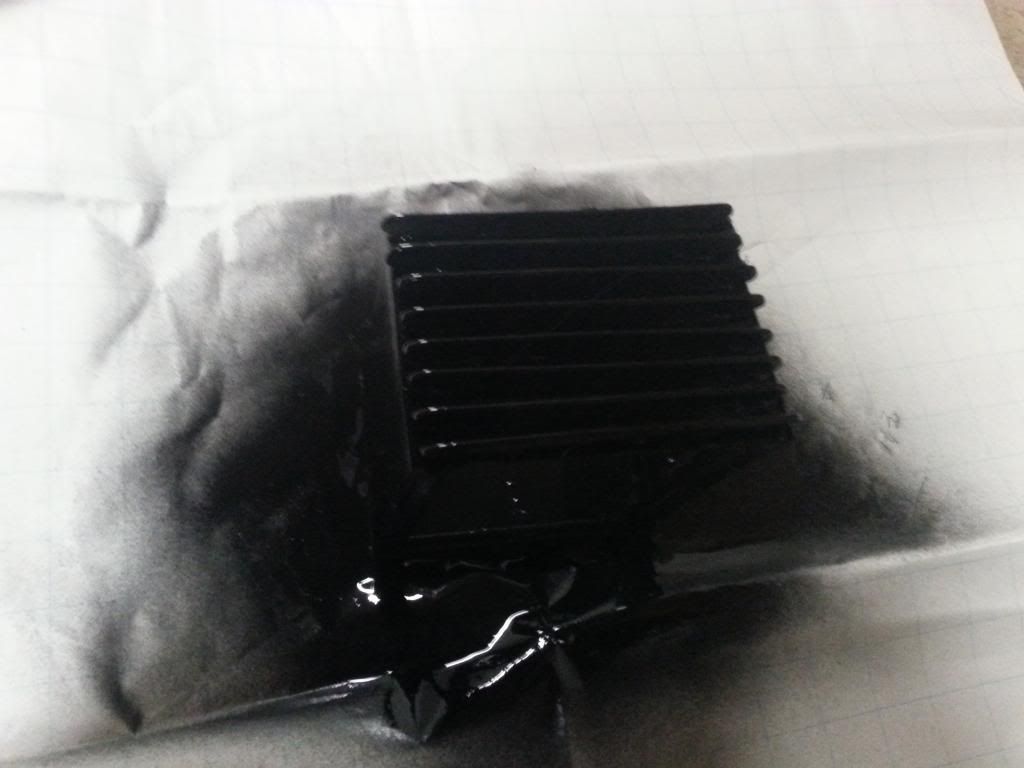
Now because this is a project where pieces get attached to each other, it would be very hard to paint all the nooks and crannies of the model if I waited until it was constructed, so I started painting right away. Here I added a flat black spray paint.
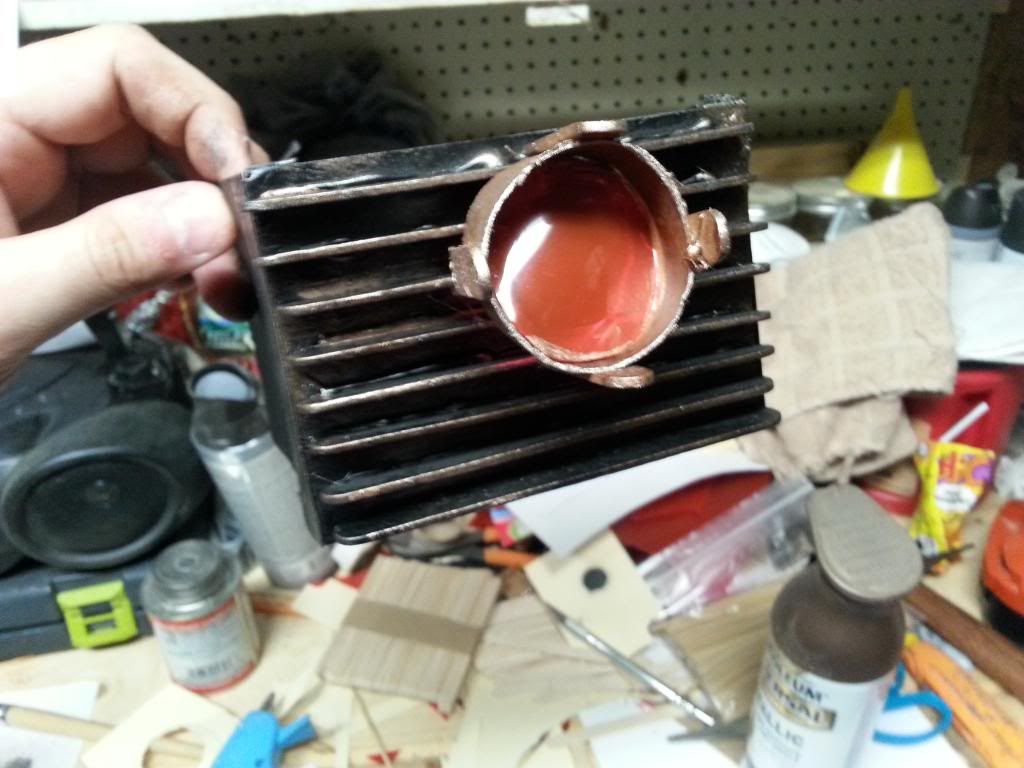
Once it was halfway done drying, I sprayed a metallic spray paint into a puddle on a piece of paper and, with a brush, delicately touched on the edges of the piece. I had available an aged copper look, but if you want yours to look more like steel you'll want a spray paint called chrome or silver or something like that.
Then using an old paper towel roll (sprayed directly with the copper) and a translucent red folder I cut out and put together this little chest piece. I left the bottom open for me to get into in case I decide later I want to get really fancy and put some small LED lights in there for extra effect.
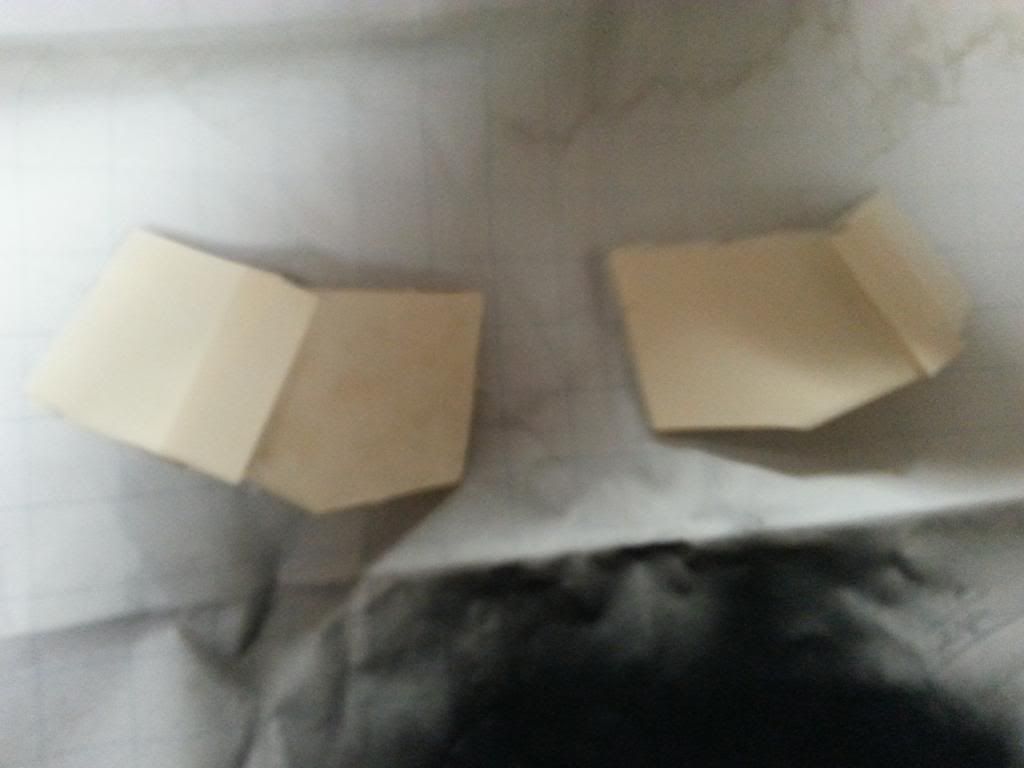
Now I've got my two symmetrical chest pieces, seemingly the pectorals of my robot, ready to be painted. For this one I want them to look like they were metal that got painted over.
In order to do that you must first paint the pieces with the metal paint. While they're still wet, use a harder brush and stroke up and down on the paint to add strokes to the paint. This adds a brushed texture and makes them look that much more metallic and not cardstock.
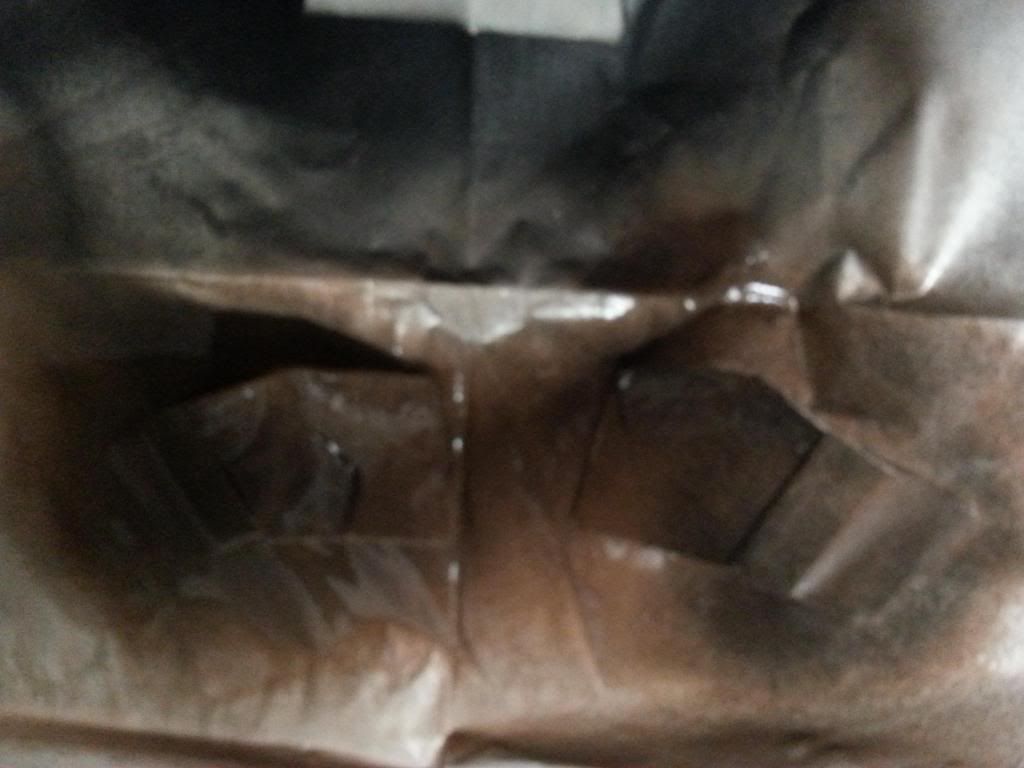
Next, after the metal paint is halfway dried, apply your top coat of whatever color you wanted your robot to be before it got some battle damage to peel the paint. If you're creating a robot that's fresh out of the assembly line skip these steps, but otherwise make sure you paint near the middle leaving the metal edges exposed. Paint in the same direction you did your brush strokes from before to really seal the deal that this is painted metal.
If you want some extra battle scarring you can take a tooth pick or something sharp and scratch the wet paint to reveal the semi-dry paint underneath. The scratches are great touches and really add to the realism. Also, you can take some black spray paint and hold it about a foot away from your pieces and spray a few spots here and there to simulate explosion (or fire or laser) damage.
Always size stuff up as you go along because when you're still just working with popsicle sticks, you can alter that stuff if need be. Hot glue is very forgiving as the gun can remelt even previously applied glue. You can change and alter anything while still creating a pretty sturdy 3D object.
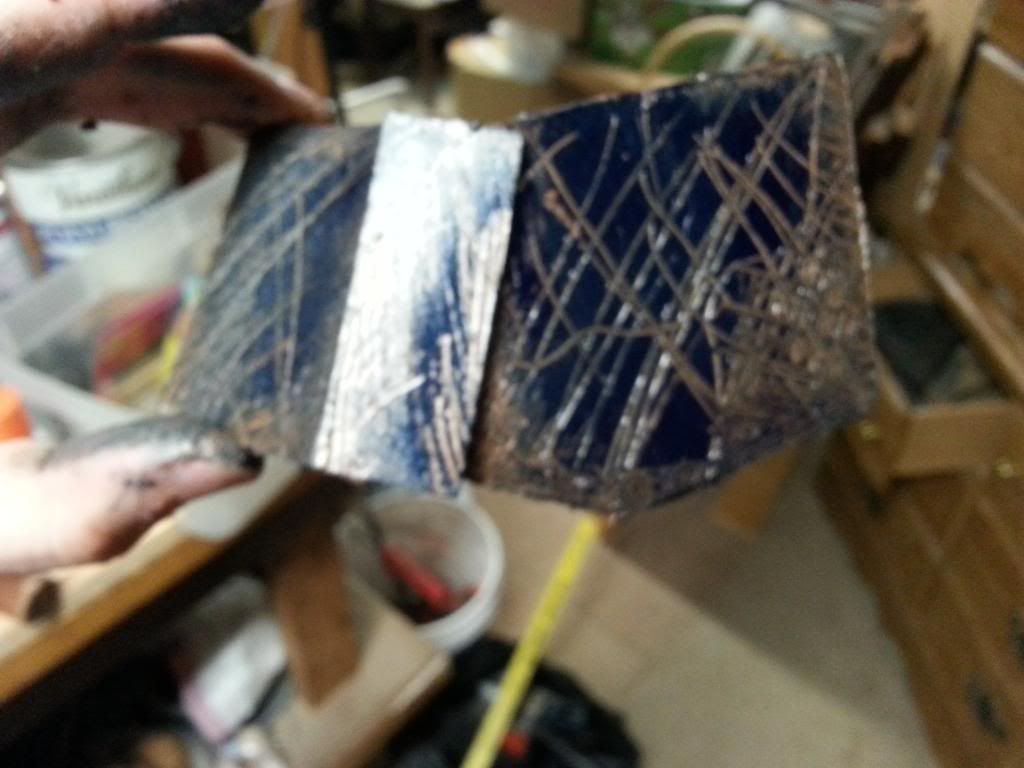
A better example of how to create the brushed metal look using only wet spray paint and a thicker bristled brush.

As you can see, when you stay in the center and brush out the paint as evenly as you can while following your first strokes, you'll get these nice splotches that look like the metal's paint is starting to peel and corrode due to it being used so often.
Constantly find new things you have lying around. With the painting methods I showed you, anything can look like metal and the more shapes the more interesting (and the more we'll believe it has real working parts) inside.
Protip: take a few colors of pipe cleaners, twist them so they're braided around each other then wrap those bad boys up tight with electrical tape, then using an exacto or box cutter or some sharp object, carefully scratch open parts of the tape to reveal the colored "wires" inside. It makes for a great frayed wire look and adds to the battle damage motif.
And there's this weeks finished build as of now. In the upper right is the shoulder guard that will house the arm socket once I start designing those (I haven't done the left arm's yet because it's six o'clock and I'm finally starting to feel tired, hooray no university for presidents day!).
So there you have it, stay tuned for the exciting continuation of the building a giant craft robot. If you've decided to follow along at home and are stuck at any point during your construction, leave a replay to this thread or if it's really drastic you can shoot me a PM and I'll gladly answer any and all questions and go into to detail about anything previously done.
Happy building (should you decide to, that is)!


